

The Organized Pantry: Storage Systems That Actually Work (Episode 2)
Airtight Storage: Plastic vs. Glass (What Actually Works)
Welcome back, food fans.
In our previous episode, we explored the foundations of a working pantry system—one built not on appearance, but on visibility, accessibility, and rotation. If you’re just joining the series, I recommend starting with Episode #1: The Foundations of a Working Pantry System, where we establish the core principles that make any storage system functional.
Those principles are what allow a kitchen to function smoothly, especially when you are planning meals, researching recipes, and trying to make the most of what you already have on hand.
Today, we move into one of the most common—and often misunderstood—decisions in modern kitchens:
Airtight storage.
More specifically:
When should ingredients be stored in airtight containers, and does it matter whether those containers are plastic or glass?

The Purpose of Airtight Storage
Airtight storage serves a very specific function.
It is designed to:
• protect ingredients from moisture
• prevent exposure to air and pests
• extend shelf life
• maintain freshness over time
For certain ingredients—especially dry goods like flour, rice, sugar, and beans—airtight storage can significantly improve longevity and usability.
But here is where many kitchens run into trouble.
Not everything benefits from airtight storage.
And applying airtight storage universally can actually create new problems, which we want to avoid to reduce waste.

A Common Pantry Misstep
Modern pantry organization often encourages the idea that every ingredient should be transferred into a matching container. Believe me, it’s SO tempting to do that, and my OCD LOVES the idea, but it really isn’t practical or effective.
At first glance, this creates a clean and visually appealing space.
But functionally, it can lead to:
• loss of expiration information
• confusion during meal planning
• unnecessary time spent transferring ingredients
• difficulty tracking how much you actually have
As we discussed in Episode #1, a working pantry system depends on visibility and clarity. When those elements are compromised, even a well-intentioned organization can create friction.
When you are planning meals or researching recipes, clarity matters more than appearance.
You need to know:
• how much of an ingredient you have
• how soon it needs to be used
• whether you need to purchase more
A system that obscures that information—even if it looks beautiful—creates unnecessary obstacles.
When Airtight Storage Works Best
Airtight storage is most effective for ingredients that are:
• dry
• shelf-stable
• frequently used
• susceptible to moisture or pests
Examples include:
• flour
• rice
• sugar
• dried beans
• oats
• baking ingredients
In these cases, airtight containers help preserve quality and make it easier to access ingredients quickly when preparing meals.
This directly supports the principles we introduced in Episode #1—particularly accessibility and ease of use, which are essential when planning meals or checking ingredients while researching recipes.
A clear, accessible container allows you to see immediately whether you have enough of an ingredient to proceed.
When Airtight Storage Is Not Ideal
Not all ingredients benefit from being sealed.
Some foods require airflow to maintain quality.
These include:
• potatoes
• onions
• garlic
• certain root vegetables
Storing these items in airtight containers can trap moisture, leading to spoilage, mold, or premature sprouting.
This is why earlier kitchens relied on:
• baskets
• crates
• open bins
• breathable storage materials
This distinction reinforces a key idea from Episode #1:
A well-organized pantry is not about uniformity.
It is about function and creating a system that serves you. Not the other way around…

Plastic vs. Glass: What Actually Matters
Once you’ve determined that an ingredient should be stored in an airtight container, the next question becomes:
Should you use plastic or glass?
The answer depends less on preference and more on how you use your kitchen.

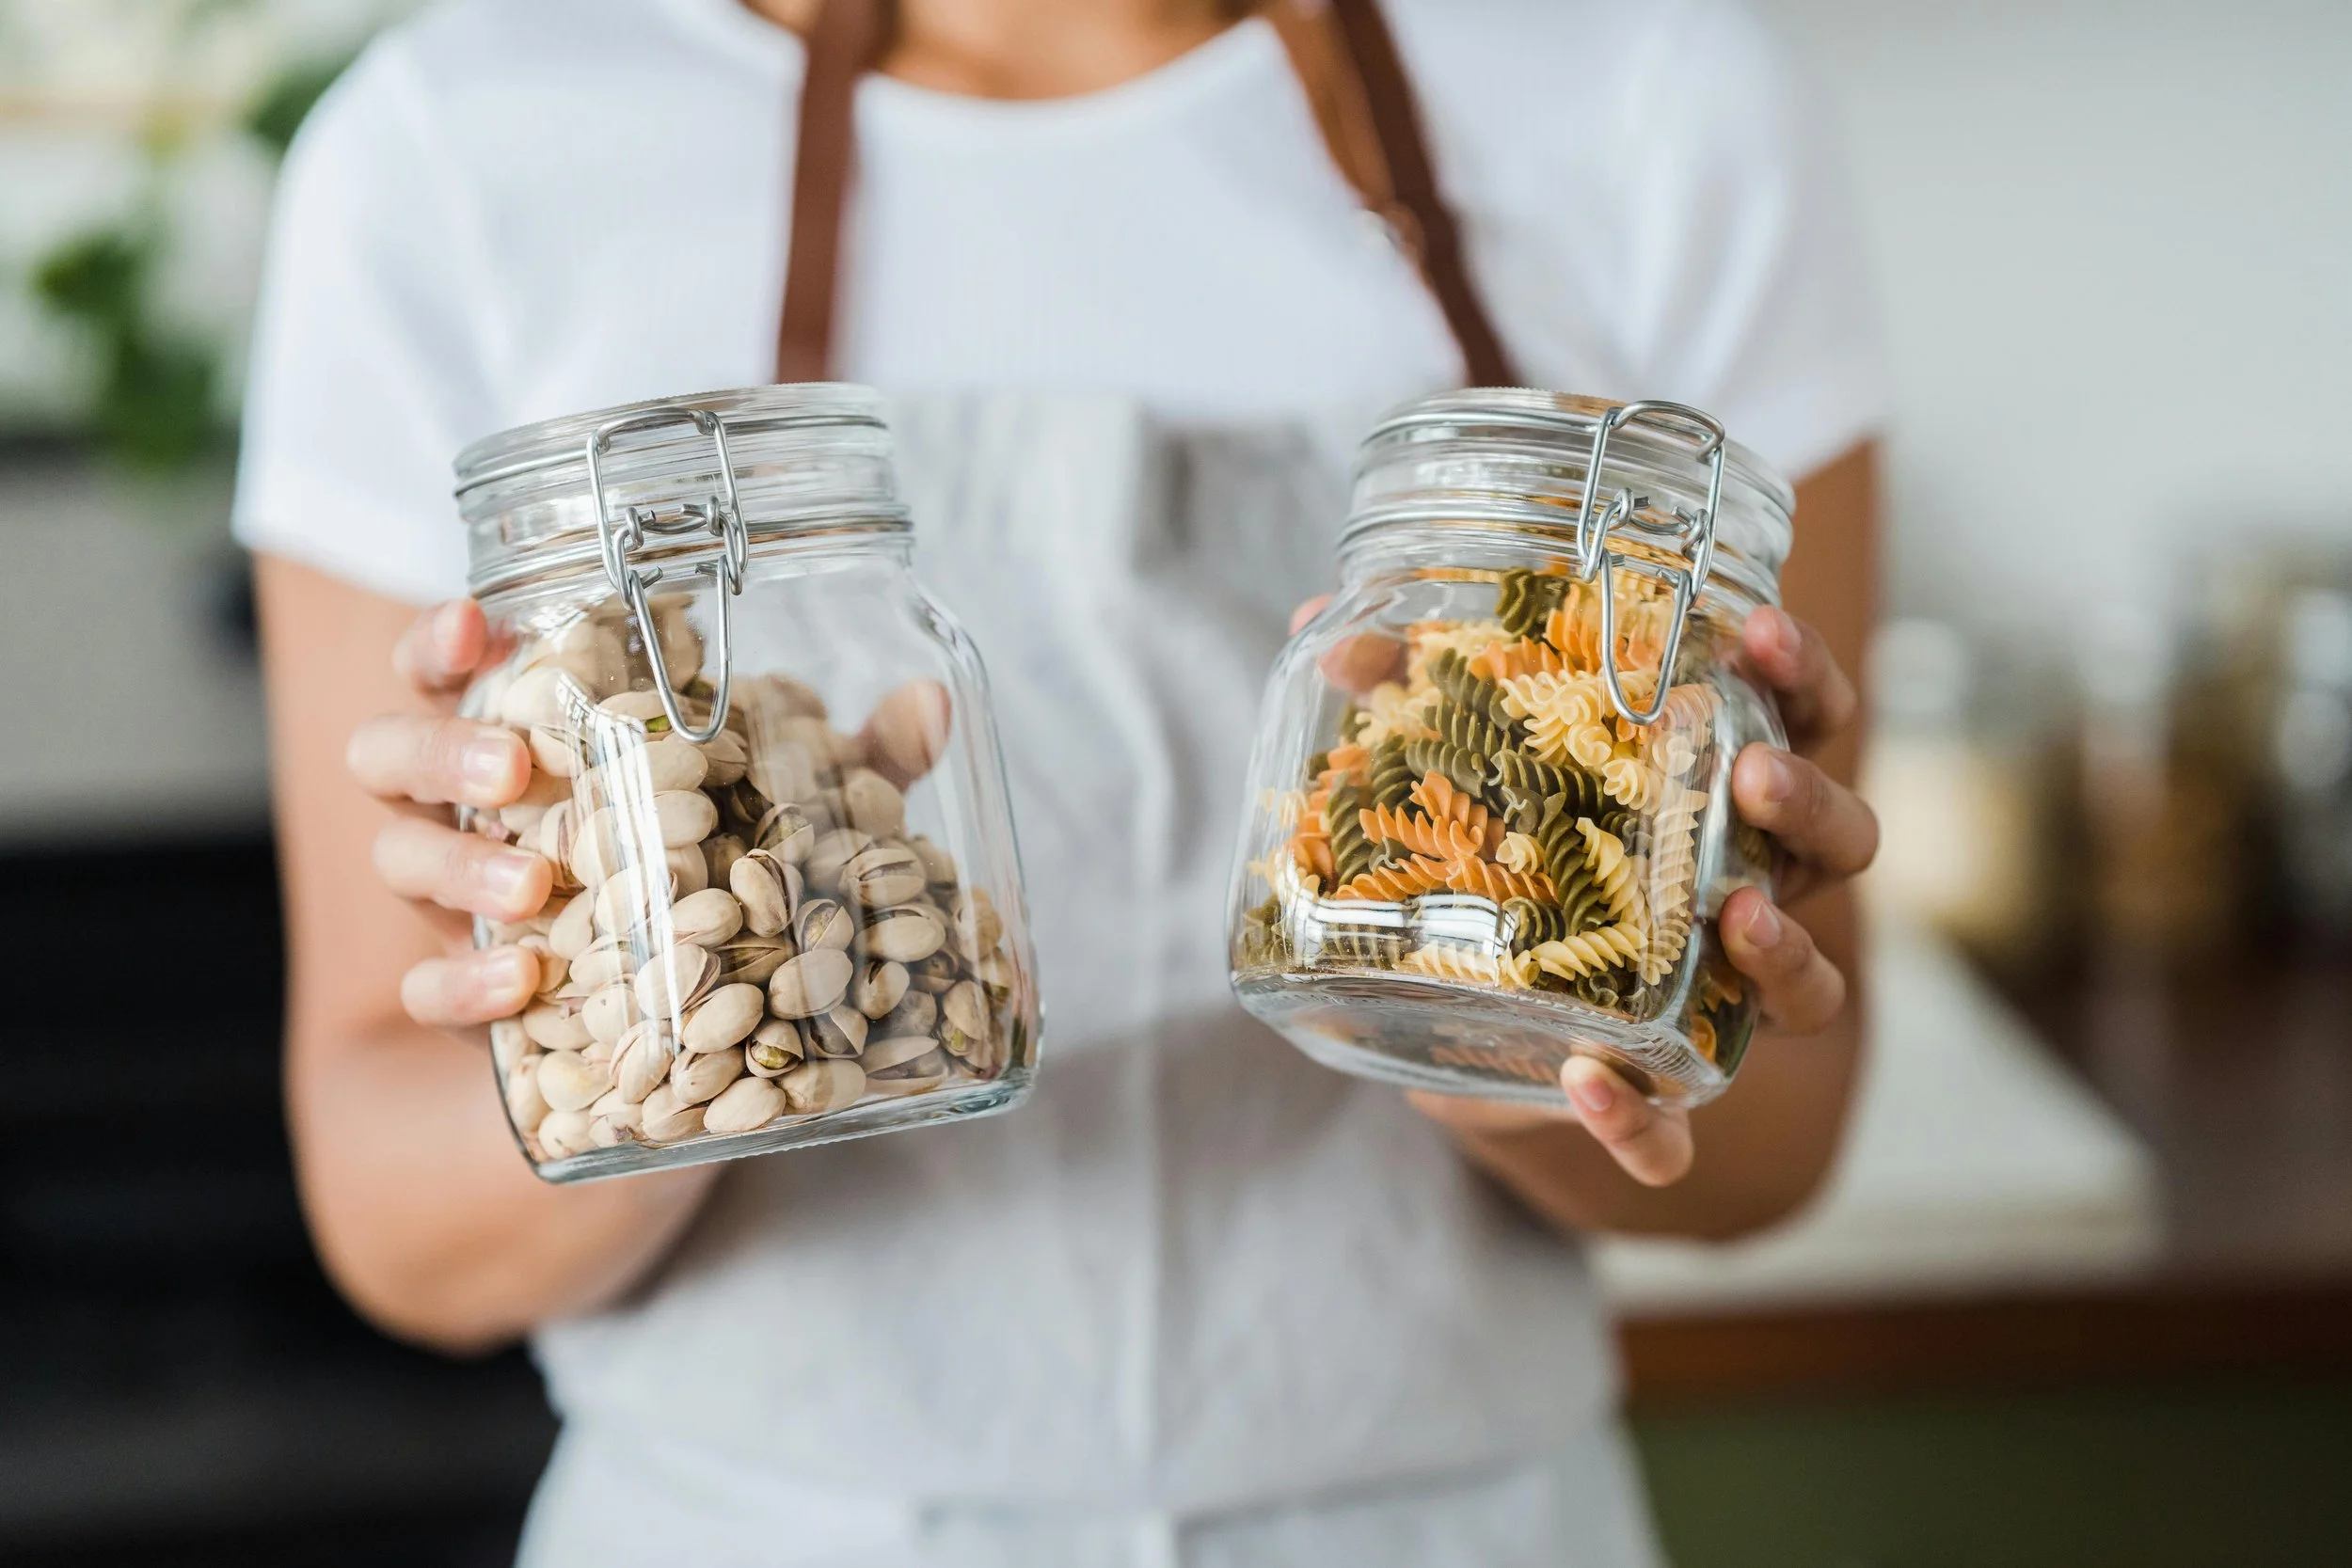
Plastic Containers
Plastic containers are widely used for a reason.
They are:
• lightweight
• affordable
• easy to stack
• less prone to breaking
They are particularly useful for:
• bulk storage
• larger quantities of ingredients
• households with limited shelving support
However, plastic does have limitations.
Over time, it can:
• absorb odors
• stain (especially with spices or oils)
• degrade with repeated use
For dry goods, these issues are usually minimal, but they are worth noting.

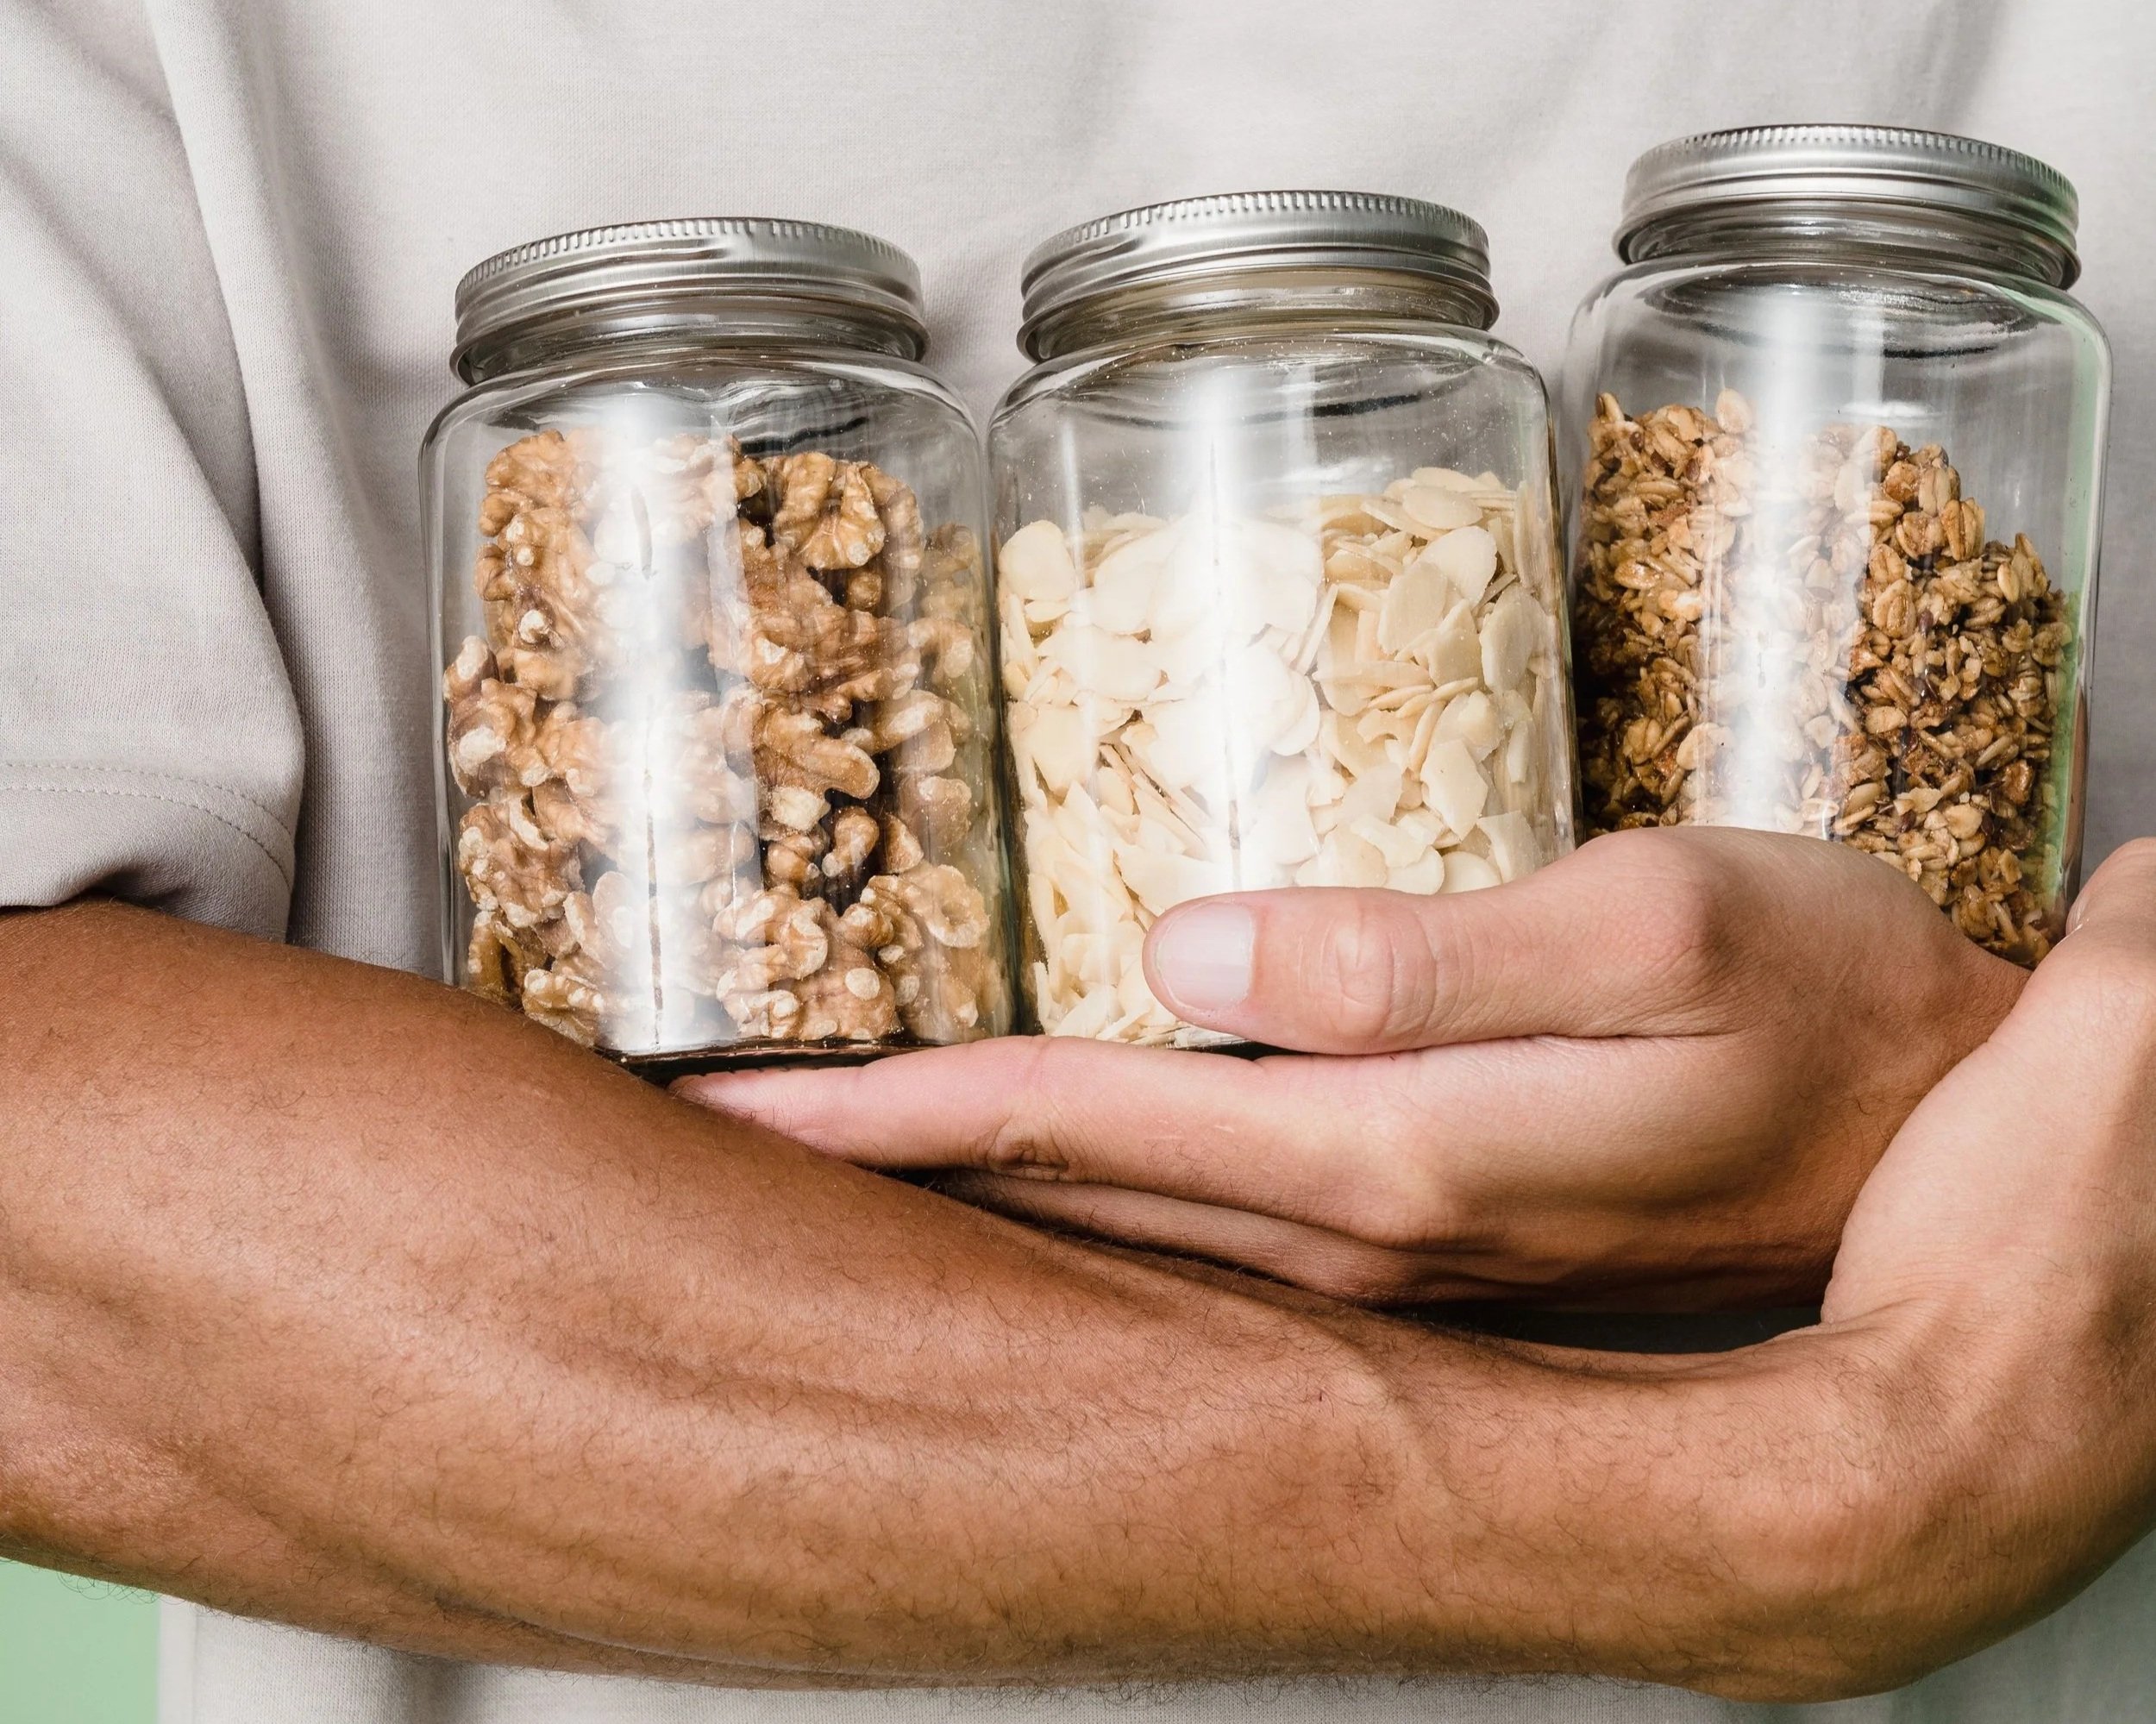
Glass Containers
Glass containers offer a different set of advantages.
They are:
• non-reactive
• resistant to staining and odor retention
• highly durable over long-term use
• visually clear and easy to assess at a glance
Glass is particularly beneficial for:
• ingredients used frequently
• smaller quantities
• situations where visibility directly supports meal planning and recipe selection
The primary drawbacks are:
• weight
• cost
• risk of breakage
That being said, what you are comfortable with matters most in this situation. Plastic options come in BPA-free brands if you are worried about those types of things. I love glass. When I was growing up, everything was glass. Quite frankly, since my family has been canning and preserving since the dawn of time, I always have mason jars around. They are versatile, easy to sanitize, and less expensive overall (for me). I also use plastic. Thanks to my mom’s time as a Tupperware representative in the 70’s, I have vintage canisters in mustard yellow 😉 Which leads me to my next thoughts…
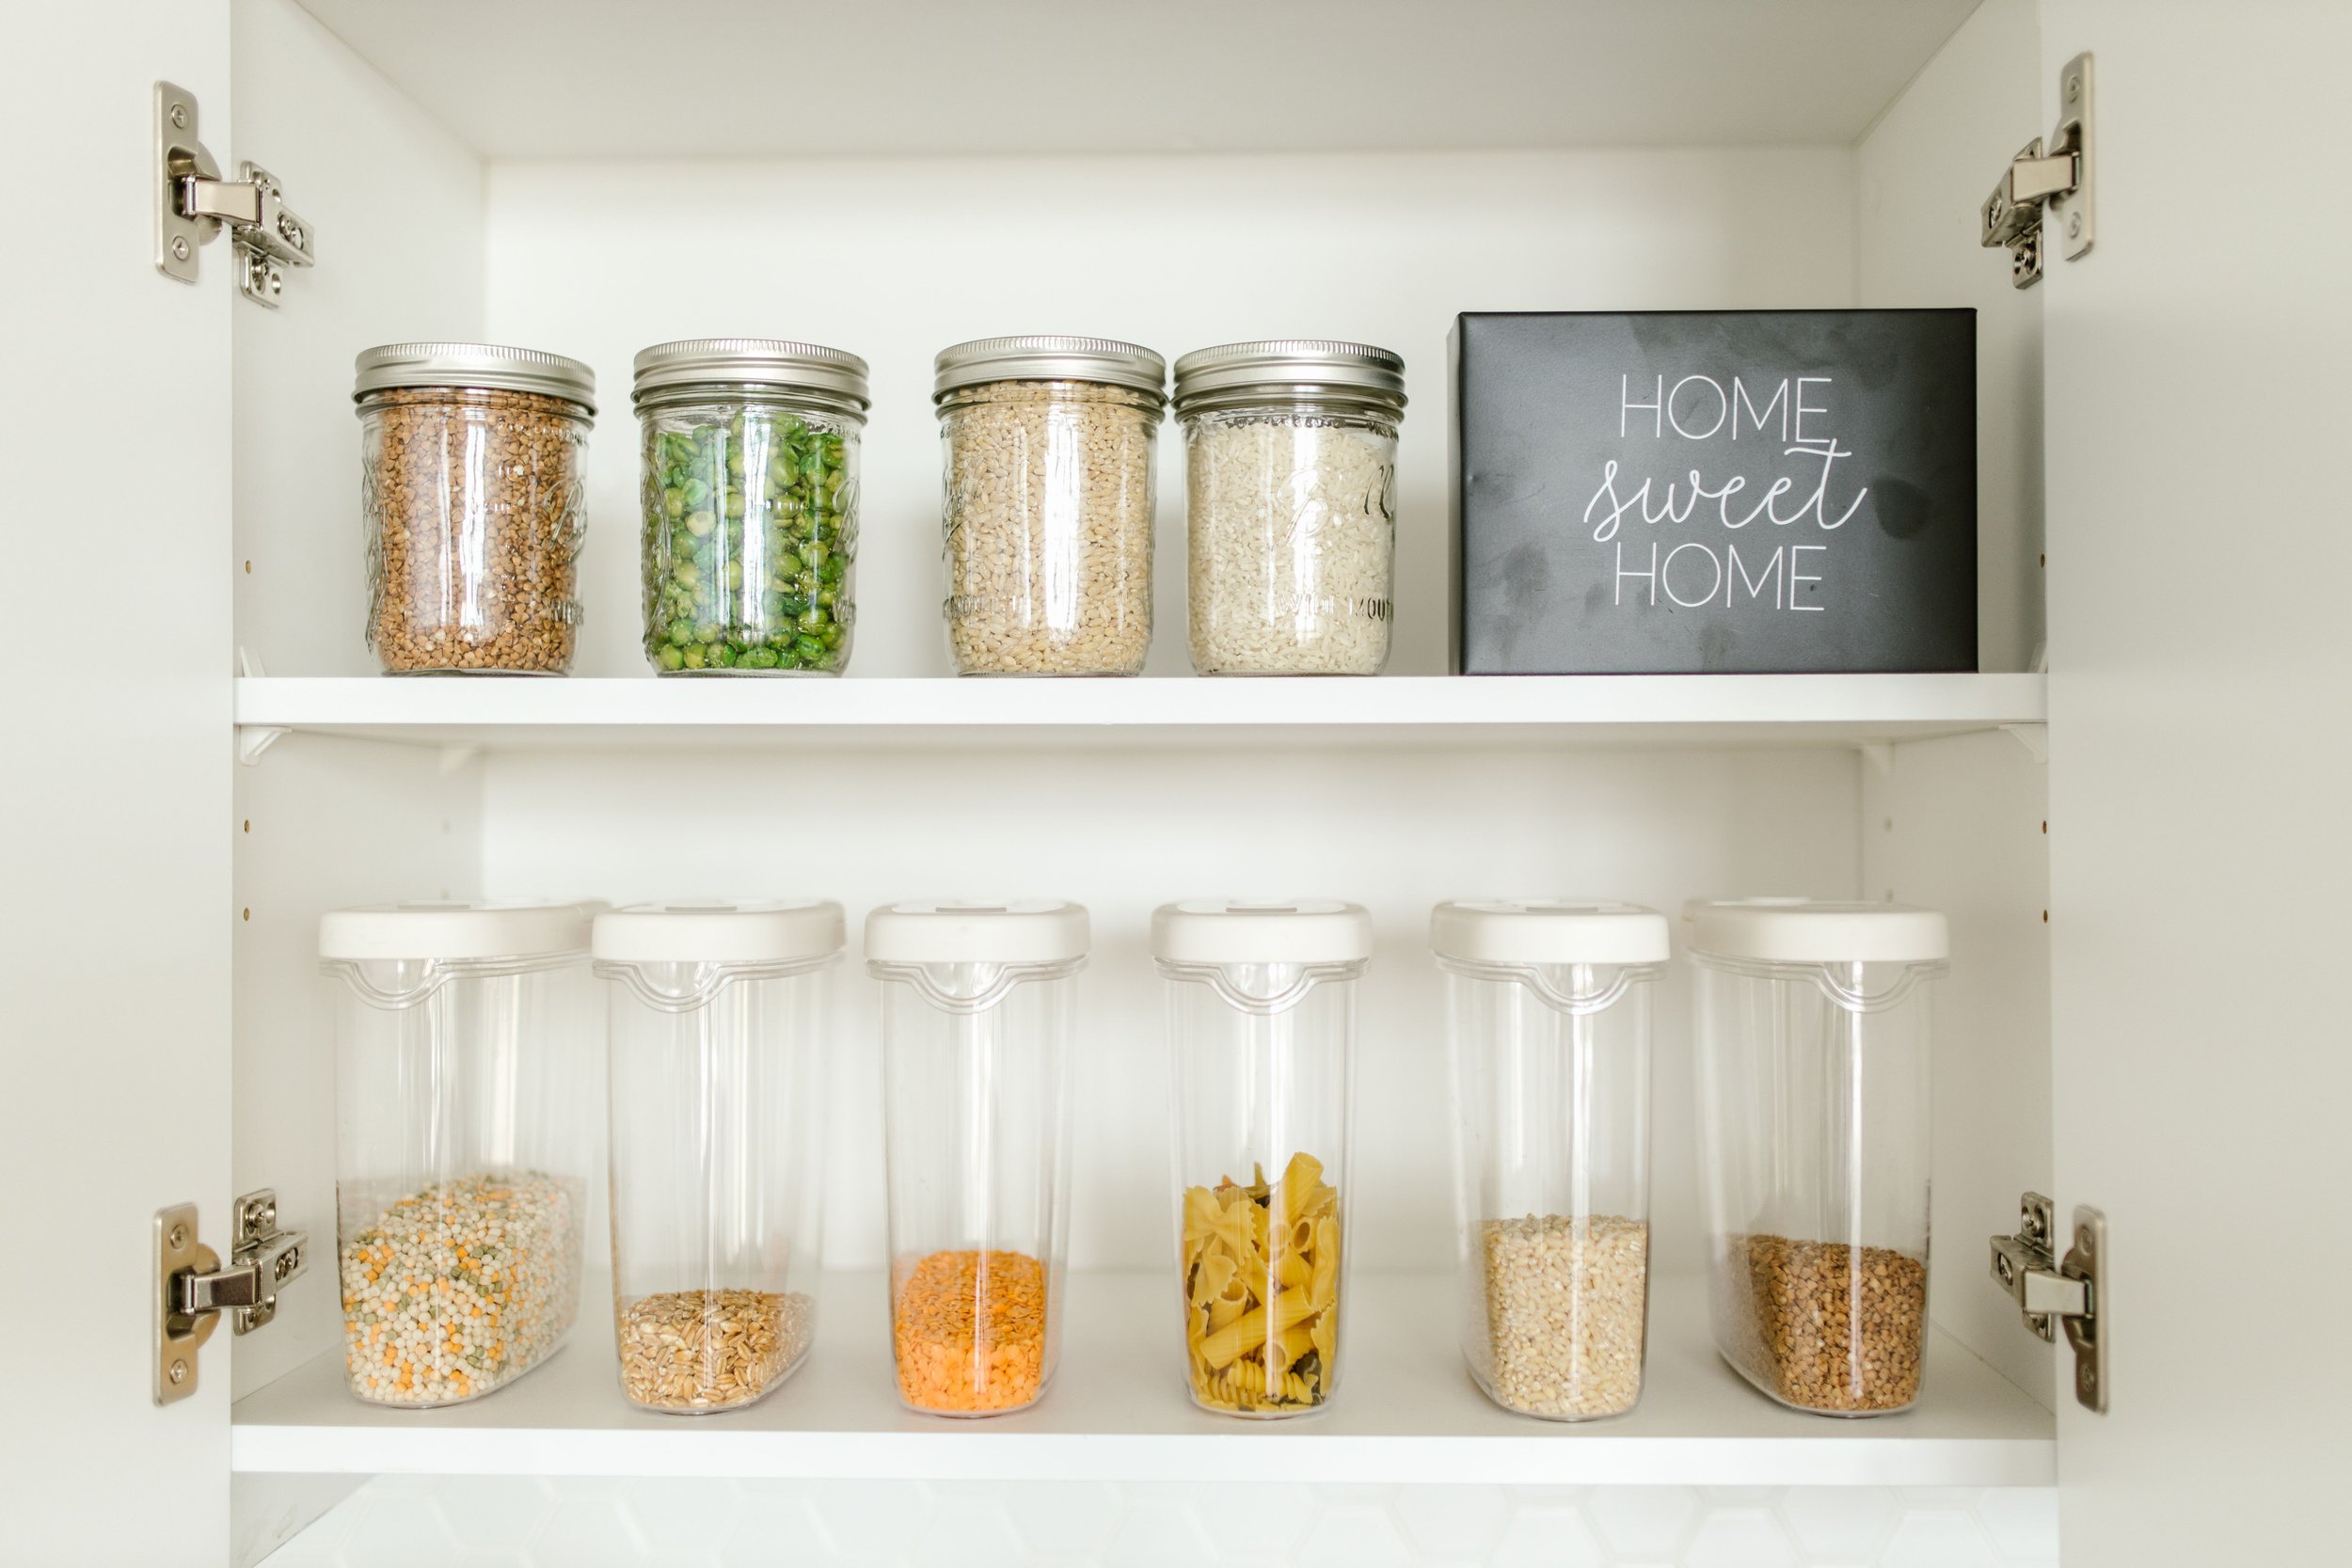
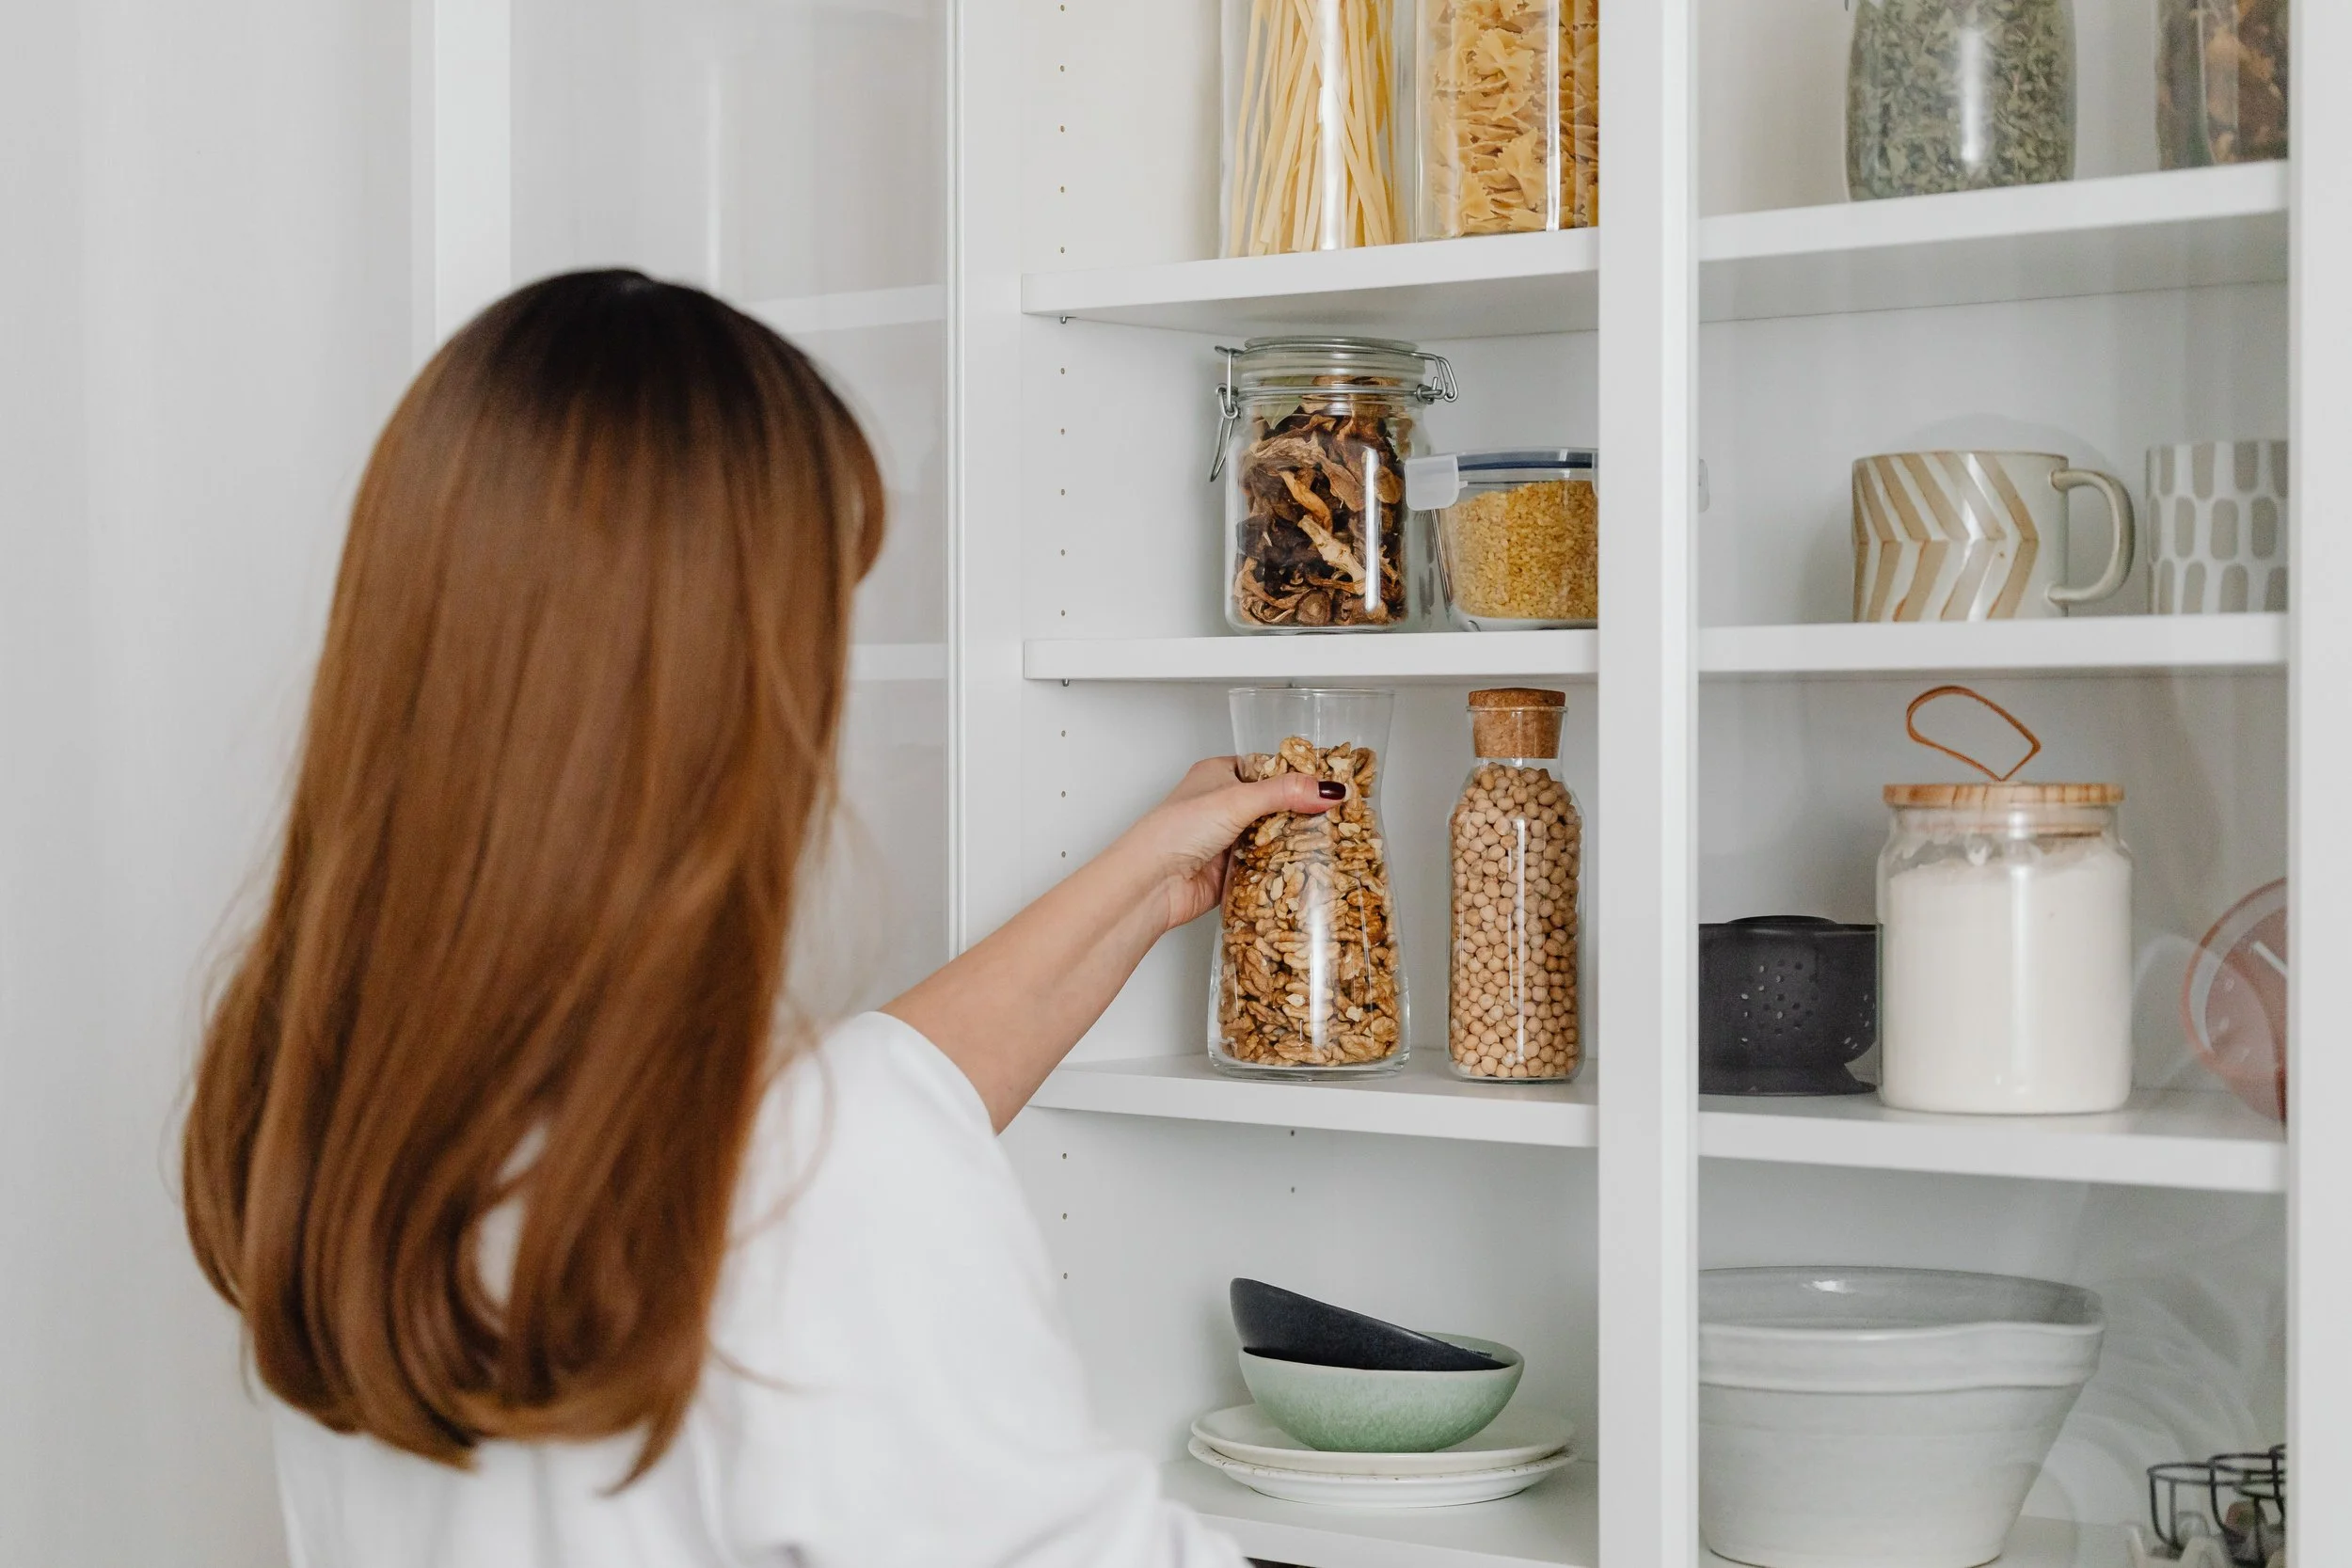
A Practical Approach
Instead of choosing one material exclusively, many functional kitchens use a combination of both.
For example:
• glass containers for frequently used ingredients
• plastic containers for bulk storage
• original packaging for items used less often
This approach aligns with the broader system we introduced in Episode #1.
The goal is not to standardize everything.
The goal is to create a system that supports:
• clarity
• efficiency
• flexibility
Especially when planning meals or adjusting recipes based on what is available.

The Role of Packaging
Another important consideration is whether to transfer ingredients at all.
In many cases, keeping ingredients in their original packaging—especially when placed inside a larger bin—can be more practical.
This preserves:
• expiration dates
• cooking instructions
• product information
A simple system might include:
• placing flour bags inside a storage bin
• grouping similar items together
• labeling bins rather than individual containers
This supports the visibility and rotation principles discussed in Episode #1 without adding unnecessary complexity.
Why This Matters for Meal Planning
When you are planning meals or researching recipes, your pantry becomes your primary reference point.
If your storage system is unclear, you may:
• purchase duplicate ingredients
• overlook items that need to be used
• feel uncertain about what meals you can prepare
A well-structured storage system solves these problems by making your ingredients:
• visible
• accessible
• easy to evaluate
In other words, it transforms your pantry into a decision-making tool—something we began exploring in Episode #1.
A Philosophy for Storage
In The Organized Cook’s Pantry: Strategies for Efficiency and Flavor, I discuss how storage systems influence not only how ingredients are preserved, but how they are used.
When your pantry is organized in a way that supports clarity, planning meals becomes significantly easier.
Instead of starting from scratch each day, you begin with what you already have.
This reduces:
• time spent researching recipes
• unnecessary grocery trips
• food waste
And it creates a more intentional approach to cooking. Operating from a place of intention simplifies life, and creates the ability to operate from a place of peace. This walks hand-in-hand with the Soft Life movement that seems to be taking hold. Arranging your kitchen and pantry space to work for you, coupled with proactive meal planning sets a mindful boundary around preparing nourishing meals for your self and your loved ones.
This Week’s Kitchen Challenge
Choose one category of dry goods in your pantry.
For example:
• flour and baking ingredients
• grains and rice
• dried beans
Then ask:
• Would airtight storage improve this category?
• Are containers helping or creating confusion?
• Can I clearly see what I have available for planning meals?
If you need a starting point, revisit Episode #1 and apply the principles of visibility, accessibility, and rotation to this category.
Make one small adjustment.
That is all.
A functional system is built step by step.
Looking Ahead
In the next episode, we will explore how to store bulk ingredients without creating clutter or confusion.
We’ll take a closer look at:
• when to decant ingredients
• when to keep original packaging
• and how to prevent pantry systems from becoming overly complicated
If you missed it, be sure to review Episode #1: The Foundations of a Working Pantry System, as it provides the framework for everything we’re building in this series.
Stay hungry, my friends.
—
Kimberly Fehler
Owner & CEO
MealScript
#MealScript #PantryArchitecture #KitchenSystems #PlasticVsGlass #FoodStorageSolutions #OrganizedPantry #FrugalWellness #KitchenEfficiency #SmartMealPlanning #KimberlyFehler